Sunday, December 15, 2024

Searching for the Past in Dunbar


1886

Last week, Frank Festa and I took a ride into Fayette County to visit the Dunbar area. Located a bit south of Connellsville, it is a little over an hour away from my house. I’ve been here numerous times and whether hiking, exploring, rock climbing or off-roading in the Jeep, I have ALWAYS enjoyed myself.

    To make the most of the day, we left before the sun rose. While we were loading my car we stopped for a minute to watch the Chinese Space Station pass overhead, talk about good timing! 


    About an hour later we stopped at West Overton Village to take some pictures of the buildings. (and to find a geocache) The village’s principal business was whiskey production. This is where Henry Clay Frick was born in 1849. His father, John W. Frick worked for Mr. Overholt in his grist mill and eventually married Overholt’s daughter Elizabeth. Henry came along a short time later and after growing up, he worked here and at the Overholt Distillery in Broad Ford before moving into the coal and coke industries.

    Soon afterwards we were driving down into the small community of Dunbar. Our first stop was a field where the ruins of several lines of coke ovens sat. Since this is located on private property, we made sure to obtain permission before venturing past the No Trespassing signs.

    If we hadn’t known that the coke ovens were here, we would’ve never guessed it. There were high weeds and plenty of thorned bushes with lots of deer trails running through them. Numerous fallen trees hampered our way into and around the site.


    We soon saw the darkened openings of the ovens. The fronts of all most all of the ovens had been destroyed. This was done to avoid taxation. Up close, we could see the beautiful work that was done making these ovens.

    They are called “Beehive” ovens because of their shape.  They were used to make coke out of coal. Fireproof bricks were laid in a circle and built up like an igloo. A round hole was at the top center.

     The broken edges show how the brick was laid; the heat inside the oven is evident by the scouring and glazing on many of the bricks.

    There are three rows of ovens here with ovens on either side. There are approximately 35 ovens per side, about 70 per row. A few ovens sit closer to the road possibly part of another row that was destroyed when the road was put in, there may have been more here at one time. This is just a small number of ovens in the area, the Dunbar area had over 20,000 coke ovens in 1900!

    The ovens were loaded from the top and once the process had been completed, bricks set in an opening in the front were removed and the finished coke was pulled out to be taken by horse, mule or train to iron furnaces and later, steel mills.

    After “roaming” around the field for an hour or so, we returned to town and parked in front of the Dunbar Historical Society. This organization is a wonderful place to get information about the coal, coke and iron industries that used to be located in this area. The volunteers here have always been more than helpful whenever I’ve stopped in to ask for some help on research. A reproduction of a coke oven sits in the park across from the society.

    We hiked about a mile on the Sheepskin Trail to a spot where 78 more coke ovens had worked. These were called the Uniondale Ovens. Three ovens still have their fronts attached. Iron bars have been placed across the openings to protect them from vandals, making them look like a jail. A sign explains how the ovens worked along with a picture of ovens in use.

    Back at the car, we drove about 5-6 miles into the State Game lands to search for the Old Laurel Iron Furnace. Using Sharp and Thomas’s book, A Guide to the Old Stone Blast Furnaces in Western Pennsylvania, we had a pretty good idea of where it had been located. The book was written in 1966 and a lot of things have changed in the past 58 years. The stream the authors mention as sitting beside the furnace is listed as Laurel Run, on my topo maps it is called Morgan Run.


    We parked in a convenient spot and walked down stream, looking for anything that might have been an iron furnace. We found a large pile of stones and dirt against a hillside near a nice flat area. On closer inspection we found some cut stones and a small section of wall made out of stacked stones. A pit or depression sat beside the mound with a couple sets of stacked stone, perhaps a waterwheel pit.

    Snow hid a lot from us but we did find some slag and that indicted that a furnace had sat near here at some time in the past. In the S&T book they said that the outer stones of this furnace were removed, possibly to help in the manufacture of the New Laurel Furnace, a mile or two further downstream. Looking at what we had found, we were pretty sure that this mound was all of what is left of the Old Laurel Furnace. The Old Laurel Furnace had been built in 1797, two hundred and twenty-seven years ago!

    Back at the car, we continued further into the game-lands. The road degraded into a dirt and gravel road covered with snow and ice.  We drove with-in a ¼ mile of the New Laurel Furnace and then opted to walk the rest of the way due to the steep hill in front of us. The last thing we wanted to do was to get stuck at the bottom of a hill miles from the nearest paved road.

    The New Laurel Furnace sits between the juncture of two roads, one continuing on downhill to the Youghiogheny River and the other crossing Morgan Run and leading up into the hills.

    This furnace was built in 1812. Considering how long it has been standing, it is in fairly good shape. The front face has collapsed and the walls of the remaining sides all show signs of shifting and movement. There are trees growing on it and their roots are pushing the stones further apart. The backside has a large crack from the ground to the top, resembling a large zipper.

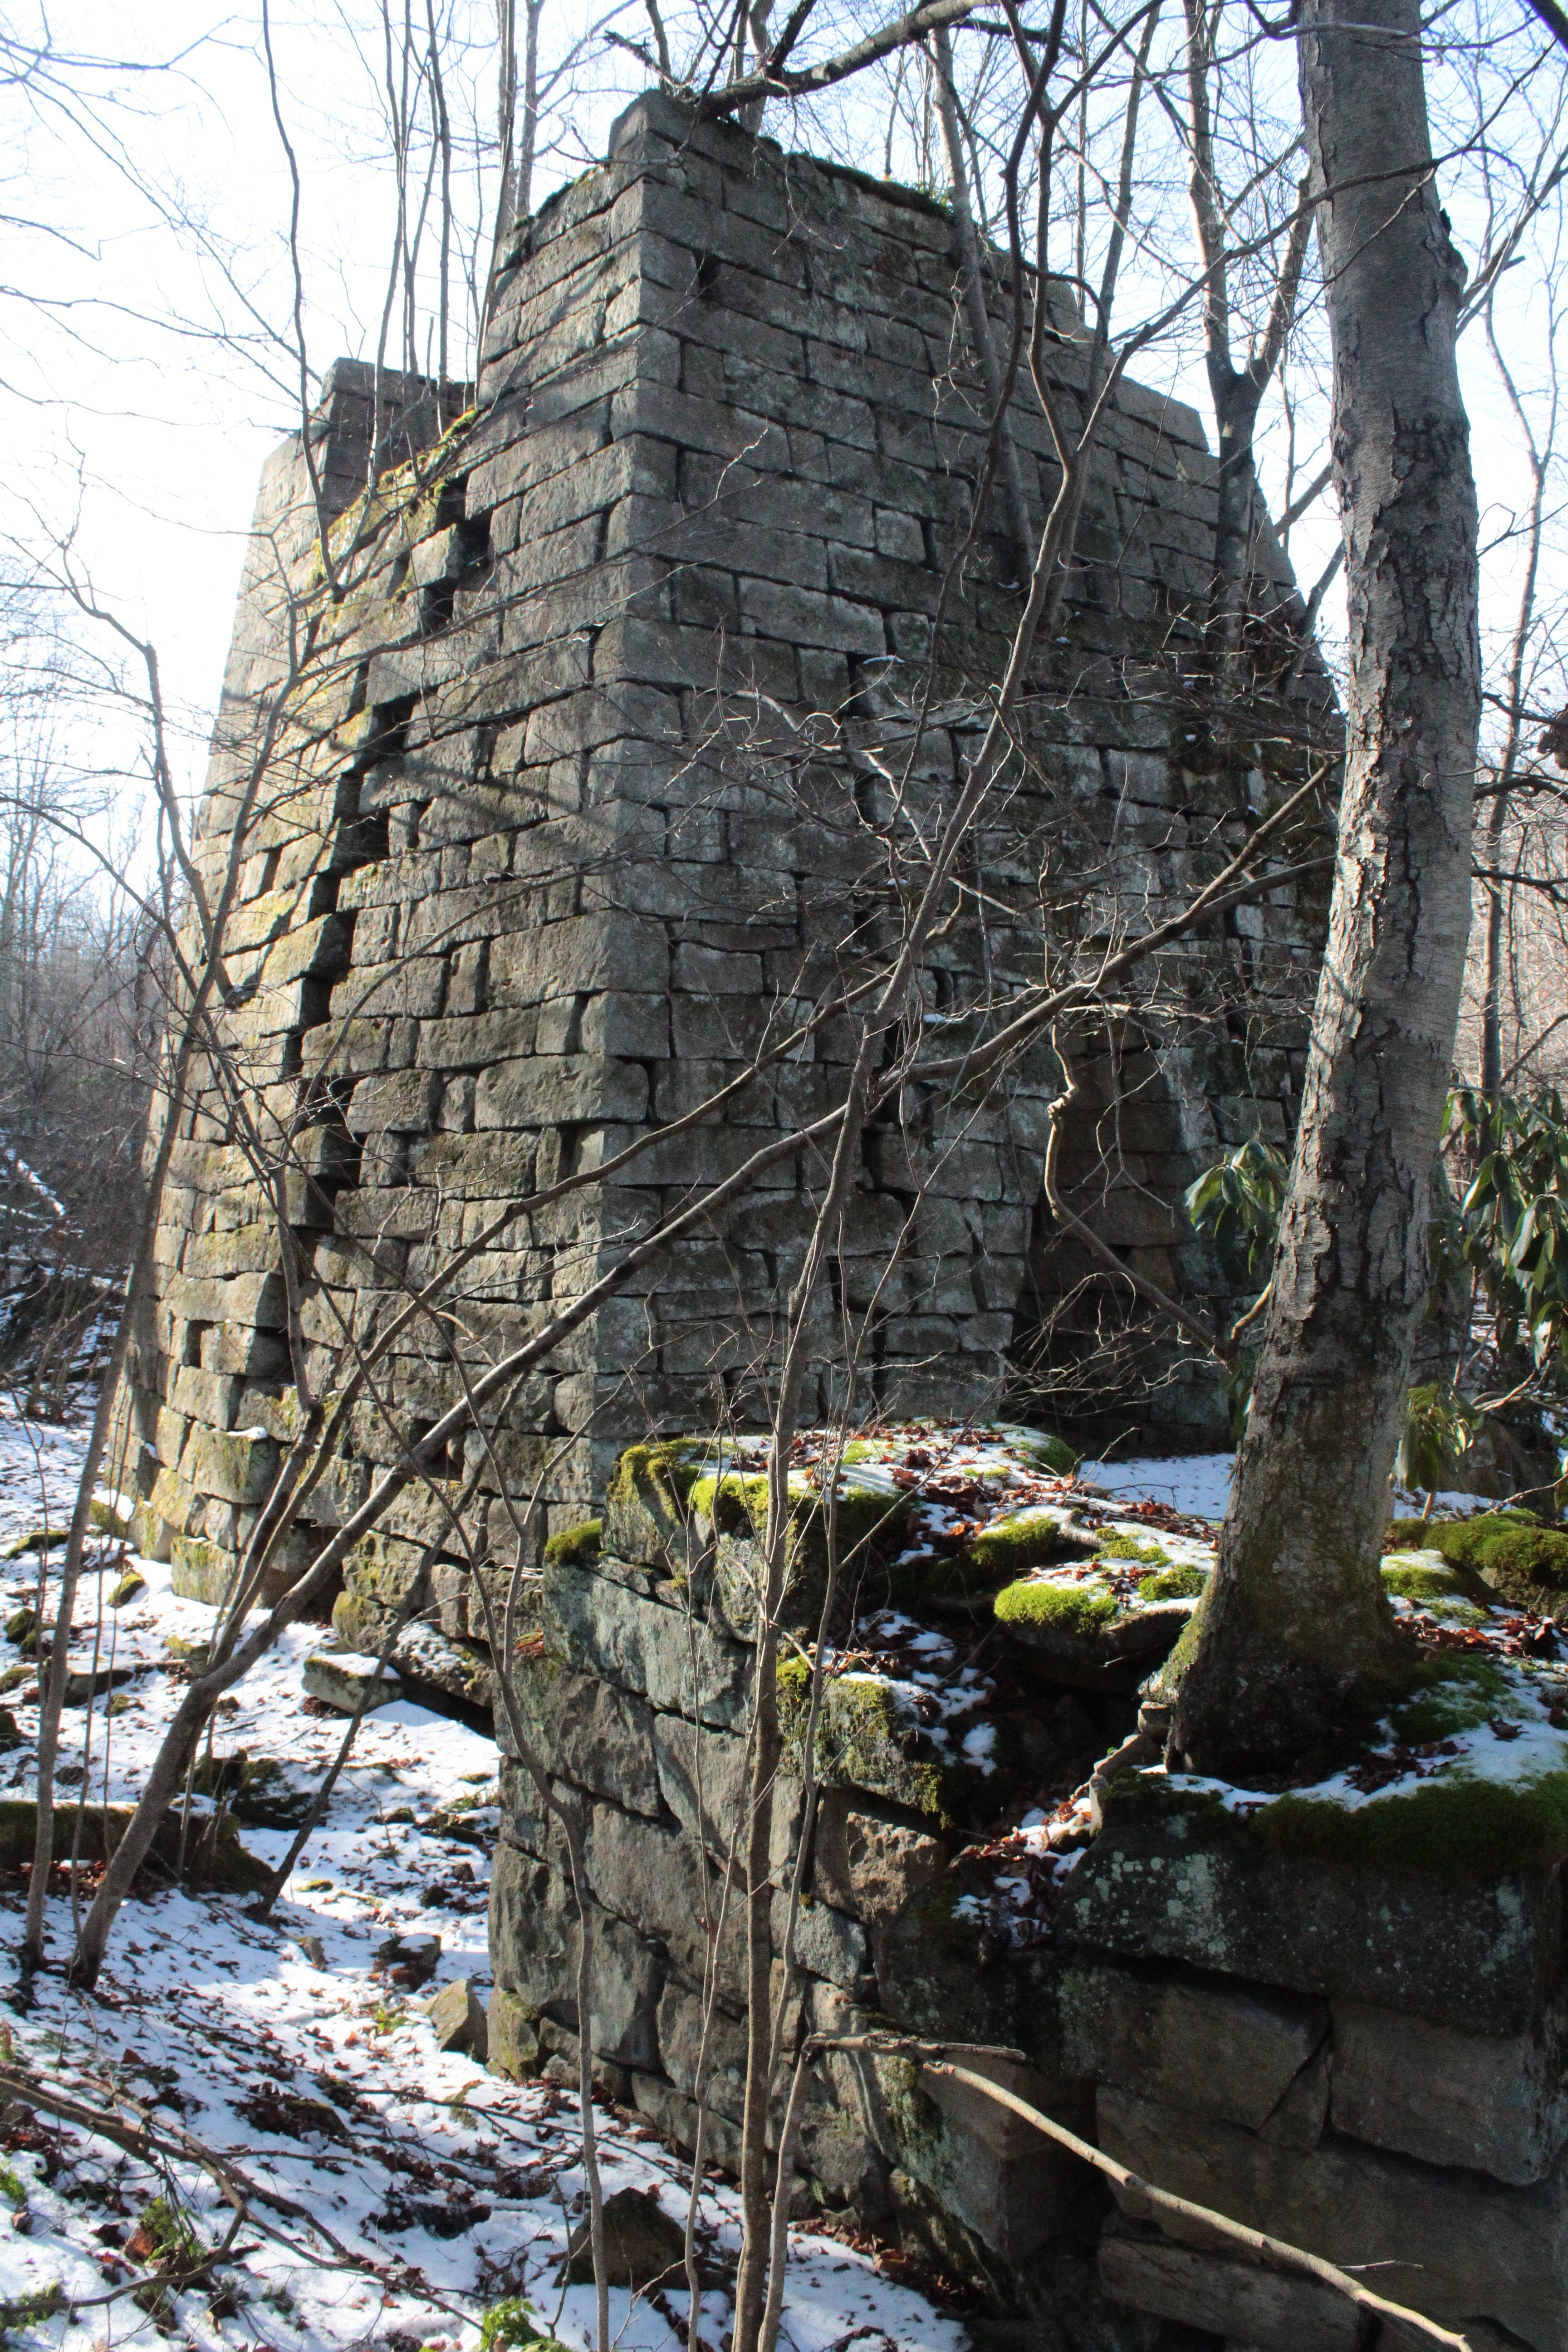
    On the east side the remaining arch can be seen. There is also a stone structure sitting close to the furnace on this side which may have been a support for a water wheel. This set of stones has a tree growing on it also, slowly destroying the nicely set stones.

    At the top of the backside, a notch where the loading bridge was attached can be seen. Looking from the front, the curvature of the inner chimney can be seen near the top.

Slag can be easily found in the ground surrounding the furnace.

    Even though it is falling down, it is a grand looking structure. After all these years, the remaining corners are still straight and sharp. It is hidden in the woods where only hunters, explorers and historians would see it. I always enjoy visiting the site. It is quiet here, in the summer it is hidden by weeds, trees and jagger bushes and in the winter it is on display with a snowy covering.

    It is quite different here than when it was in operation. Numerous buildings would have been near-by. Smoke and noise would have filled the air. Workers would have been busy with the operations of the furnace and all the additional jobs required keeping it in blast. The furnaces worked non-stop, 24 hours a day for as long as possible. This furnace went out of blast, or shut down, in 1838, allowing peace and quiet to return to the area.

    Frank and I hiked back up the hill to the car and after a quick stop at the Dunbar Historical Society to say hello, we headed back home. We had found everything we wanted to, the weather co-operated and other than a few punctures by thorns, there were no injuries!

    Back at Frank's car we watched a plane fly underneath the moon as we unloaded the car, a good way to end the trip. Returning home, I was tired but happy!


Saturday, November 30, 2024

Delving into the Undeveloped

 I had about 3 weeks worth of pictures in my camera. You’d think that was a lot of pictures but the roll of film only has 12 negatives on it. I had been careful not to “waste” any pictures with impromptu shots, so from the first to the last shot was about 17 days. During that time, I could only hope that something worthwhile was captured. I had to wait until I developed the roll to find out.

    On Wednesday morning, the day before Thanksgiving I set out my supplies, checked my chemicals and removed the film from the camera. Then, after a good cup of coffee, I was ready to start.

    I needed an open workspace, so I used the base of my enlarger in the darkroom. I dusted the enlarger itself and wiped off the base. I didn’t want any dust particles landing on my film. I set out the developing tank, its lid and the spool where I could easily grab them in the dark. I set the spool on its side with its opening at the top. I set the reel in a U-bolt which I have been using to help keep it from rolling. I also had a pair of scissors sitting near-by.

    After I turned out the light, I felt around to make sure I knew where each piece was. I looked to make sure there weren’t any new light leaks since I did my last roll. Satisfied that I knew where everything was and that I was in total darkness, I slit the paper band on the roll and started unwinding the film.

    The film I was working with was black and white, 120 Kodak T-Max 100. This size of film is a lot more flexible than 35mm film and it can be tricky lining it up the opening of the reel. It had been almost two months since I had done a roll this size and I was glad that I had practiced beforehand. After a couple attempts, the film went in as planned. I only hoped that I hadn’t put any creases or marks on the negatives.

    There is always a fear that I’ll drop the film or part of the tank during the loading process. I don’t want to be feeling around on the dirty floor in the dark looking for the lid or even worse, the strip of film! I put the reel into the tank making sure the lid was on properly and then turned on the light.

    I cleaned up and re-covered the enlarger before I did anything else. If I didn’t do it now, I figure that I’d probably forget about doing it and everything would be even dustier the next time I used it. This is something I learned from my machinist days.


    The chemicals were put in a water bath to bring them to the proper temperature, 68° Fahrenheit. I had previously looked at the Massive Dev Chart online. (Massive Dev Chart Film Development, Film Developing Database) This is a great site to determine what the times for various films and developers should be.

    I wrote the times for all the steps on a piece of paper and hung it up near the timer. After a couple more sips of coffee I was ready to go. I set my timer and started the first step, a prewash.

    After finishing the developer, stop bath and fixer steps, I was able open the tank and see if everything had gone as planned. Even though I have done this numerous times, I am still apprehensive about what I’ll find when I open the tank. I removed the lid and slid the reel out and was happy to see images on the film! Now, I only had to worry about whether any of them were any good! It really isn’t as worrisome as this but I have had rolls go through that I inadvertently exposed to light, and I’ve developed a few rolls in which the camera wasn’t working properly. It is always a good feeling to see that everything came out OK.

    Finally the washing process was finished along with dipping the reel into some Photo-Flo, I was now able to unwind the filmstrip from the reel and see what I had taken. After 2 weeks, I tend to forget exactly what pictures were on the film and it is always a nice surprise to re-live these bits of the past once again. Looking at the strip as it hung to dry, everything looked OK. I didn’t see any bends or creases made by my attempts at loading the film onto the reel. The negatives all looked properly exposed and looking quickly, everything seemed to be in focus. I closed the door and let the film dry.

     So far, so good! It was now time to do some Thanksgiving preparations.


    An hour later, the film was dry. I took an archival filmstrip holder and labeled it. Then I cut the negatives into strips of three and slid them into the holder. Using a light box with my digital camera positioned overhead, I took a picture of the proof sheet and then a picture of each of the negatives. Using Adobe Photoshop I cropped the negatives, straightened them and then made a copy, inverting the negative into a positive. I saved the negatives and the positives in a file on the computer with the days date and a brief description of what they are. The “actual” negatives were placed in a 3-ring binder with other negatives from the current year.

    With the pictures on the computer, I will be able to look them over and decide which ones can be used to make prints. This will probably be done some time later in the winter, on those days when I don’t want to go outside into the cold.

    I cleaned up the tools I used and put the chemicals away. The area is now ready for my next chore…doing my laundry. Once again, I came out with another good batch of negatives. Practice makes perfect, or at least close to perfect. 

    You should give film developing a try; take a step back in time and experience the fun of doing things the old-fashioned way. It is a great hobby. I find that it is a great sense of achievement when I open up that tank and see properly developed negatives! If I can do it…so can you!


Sunday, November 24, 2024

The Bayless Paper and Pulp Mill

 Frank and I hadn’t been on an adventure in a while so we put our heads together and started planning. We decided to take a trip into Potter County to visit the ruins of the Bayless Paper and Pulp Mill.

    Our scheduled date was for Thursday, a day which turned out to be wet, cold and even snowy at times. This didn’t deter us, we dressed accordingly and hit the road. Our departure was very early since we had about a 3 and a half hour drive ahead of us, if we went straight there. Of course, we weren’t going to do that; there are always detours and stops on any good trip!

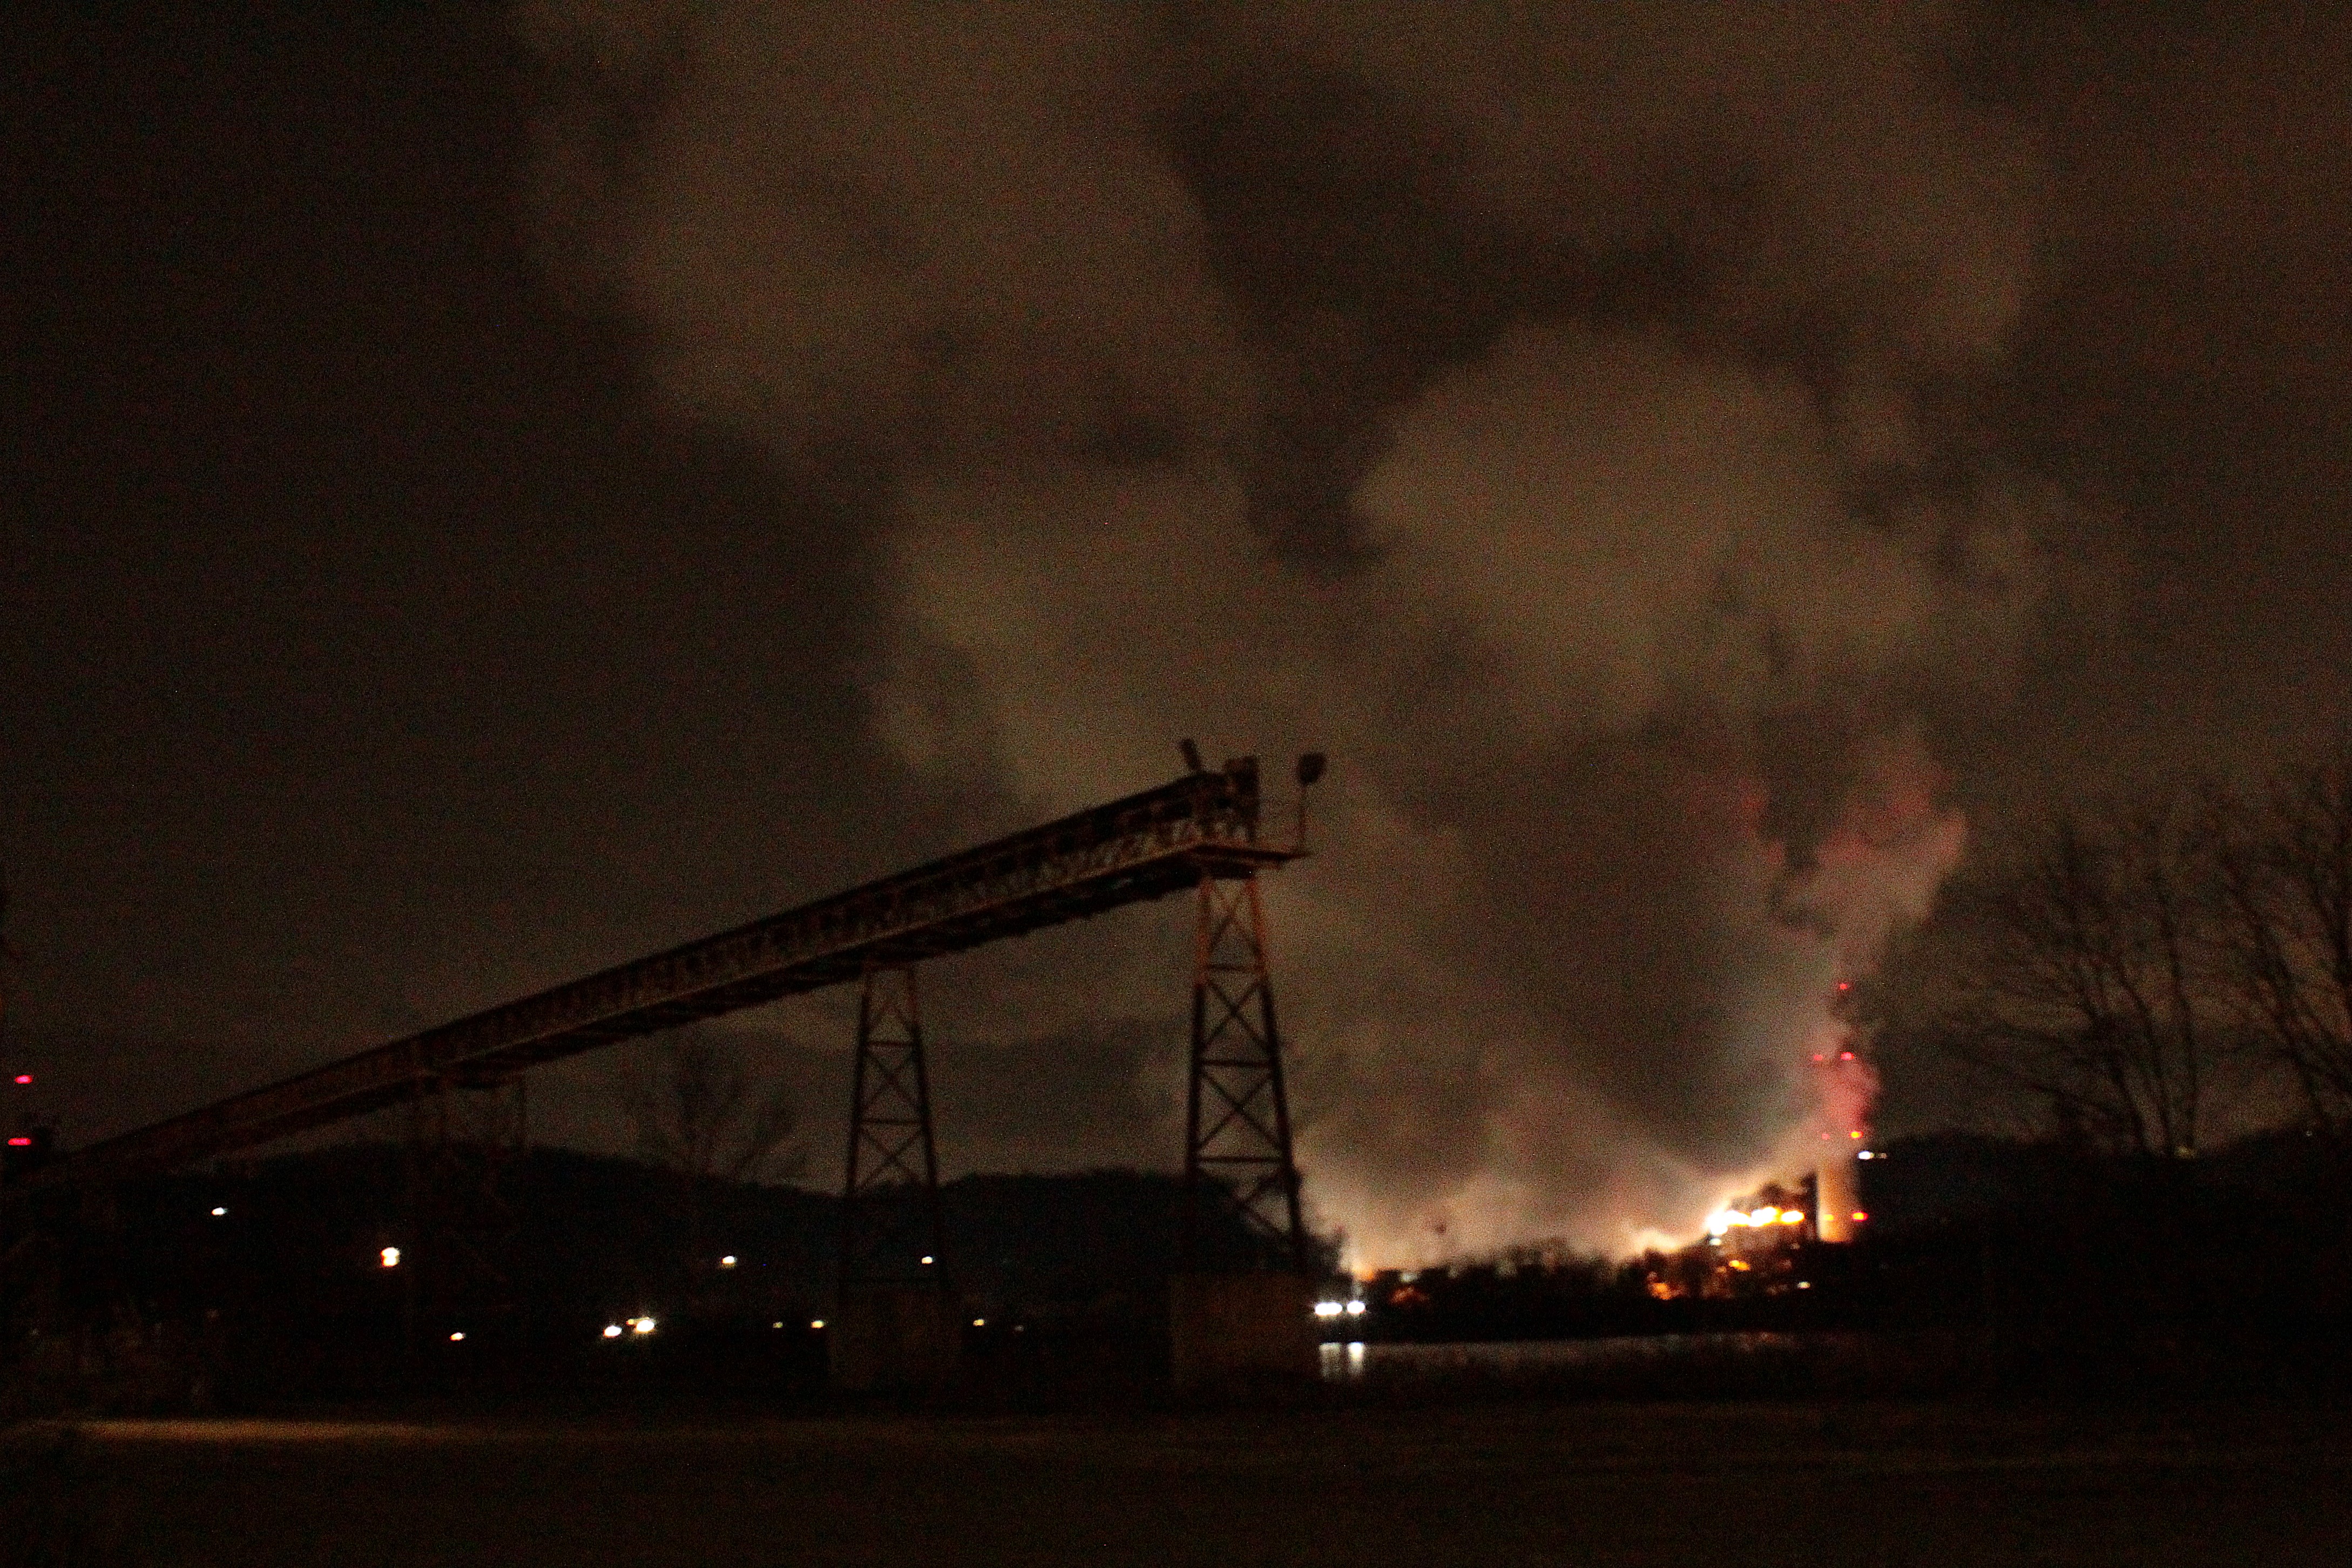
    I left my house at 4AM. There was a light drizzle, just enough to have the windshield wipers on low. Traffic is nearly non-existent at that time of the morning; we were well away from the suburbs before rush hour started. After loading up on some fresh coffee, we attempted some photos of the steam coming from the power plant across the river from New Kensington. Our first geocache find was still 30 minutes away, in the darkness beside the road. The car headlights were shining on “the spot” while Frank and I rooted around using flashlights trying to locate it. Every so often a big truck would come around the bend, blowing a blast of noise and cold wind at us as it rushed by. Our next geocache further up the road was found in the daylight. 


    We stopped for a couple caches at Scripture Rocks outside of Brookville. In 1908 Douglas Stahlman started carving passages of scripture onto the rocks here. By the time he carved his last passage, in 1913, he had worked on over 500 rocks in the area. He had some "issues" and ended up in a mental hospital where he lived out the rest of his life. A park has been made to help prerve his work and his memory.

    We followed rt.28 up to its’ northern end in Brockway. Continuing on, it wasn’t until nearly 11 before we arrived in Austin, a short distance away from the ruins. Expecting a walk of about a mile in the rain we were happy to find a road led right to where we wanted to go. Parking on the edge of a steep hillside, we left most of our camera gear in the car rather than carry it with us. This made it much easier to maneuver around and through the brush and over debris.


    A large three-legged cement structure stood near where we parked. Doing a bit of research later, I found out it was a Jensson Acid Tower.  Built in 1917, the tower produced sulfite acid liquor for the paper making process. This liquor was produced by mixing limestone, water and sulfur in gaseous form in this tower.  It would have been fun to climb up the tower but unfortunately, it was beyond my abilities. Sitting beside the tower was a concrete structure which was the sulfur house. Chemicals in it were flammable and had to be kept away from the rest of the plant.


    We then worked our way through some high brush and grasses in a swampy flatland over to the remains of the mill. It appeared to be three stories high at one time. The stairs to the upper levels were broken and so we stayed on the main floor. Numerous holes in the floor showed us a water filled basement. The water was very clear with nothing growing in it. Water was in the basements of all the structures we came across.


    A broken set of steps took me down into the basement but that was as far as I could go. Water was dripping from the ceilings leaving small stalactites and also small waterfalls that we had to be careful to avoid. I was glad to be wearing a hat! 

    The Bayless Paper and Pulp Mill remained in business from 1900 to 1944. It was flooded twice and rebuilt. It was a fire that finally shut the plant down.


    We wandered around the ruins trying to comprehend what we were seeing. This place looks so different now as compared to when it was working. It provided jobs and security to the people of Austin and the surrounding areas. What did these various structures do when they were being used? We had to be very careful where we stepped as we roamed around, avoiding the numerous holes and the thick bolts sticking out of the floors. After taking way too many pictures, we made our way back through the brambles to the car.


    We then headed a few miles up a near-by road to where the dam was built. A park and campground is situated below the ruins. The dam was made by the company to provide water for the paper making process. Unfortunately, the company skimped on materials when making the 50 foot high concrete structure. Money for the project was running out and the owner decided to cut back on a few things. This eventually caused the structure to break apart during a period of high water. When built in 1909, the dam was the highest of its type in Pennsylvania. In 1911, three years later it failed and destroyed the Bayless Paper plant, the town of Austin and another below it, and killed 78 people. The town and the company rebuilt. When it was first built, the townspeople called it, “The Dam that Could Not Break”. Looking at the concrete blocks scattered around below the structure, you can’t help but realize the power of all the water held behind it.

    The rain had turned into snow while we explored the remains of the dam and followed us on and off on the way home. We left the snow behind us above rt.80, though the rain stayed with us for the rest of the trip. The day worked out well, when we were out of the car, there weren’t any extreme rains. The ride home was faster than the ride up since we only stopped for a quick lunch at a fast-food joint. There were no geocaches or photo stops on the way back.

    I returned to my house at 5PM, 13 hours after I left, almost to the minute. We didn’t see the sun rise or set on the trip, but we still had a good time. Good conversations, exciting spots to visit, some good pictures, along with some bad ones also, it was a great day. It was everything we expected it to be!


Looking into the Past

“9/26/90- Fog, everywhere but up”      I have been searching through my slides and pictures for shots taken at the Wagman Observatory and ...